Leave Your Message

How to Choose a High Speed Air Drill?

A High Speed Air Drill can turn a clean pilot hole into a precise cut in seconds, but its advertised RPM tells only part of the story. Buyers also need to check torque, collet capacity, weight, noise, and air consumption. The right choice depends on the material, hole size, and working position—not speed alone.

The U.S. Department of Energy’s Improving Compressed Air System Performance sourcebook reports that leaks can waste 20–30% of compressor output. That matters at the workbench: a long hose, undersized fitting, or weak compressor can starve a fast drill and slow the job. Check the tool’s required pressure and airflow against the supply, then compare verified performance data. CAGI’s performance-verification program offers a useful model: look for measured specifications, not just marketing claims.

Compressed-air specialist Ron Marshall puts the practical point this way: “A tool is only as good as the air system feeding it.” Treat that as a reminder to test the whole setup. Hold the drill as you would during real work; a heavy body or awkward trigger can become tiring before the shift ends. Small details matter. This guide will help you weigh speed against control, durability, and operating demands—while recognizing that published ratings cannot fully predict performance in every workshop.
How to Choose a High Speed Air Drill?

Understand What a High-Speed Air Drill Is and How It Works

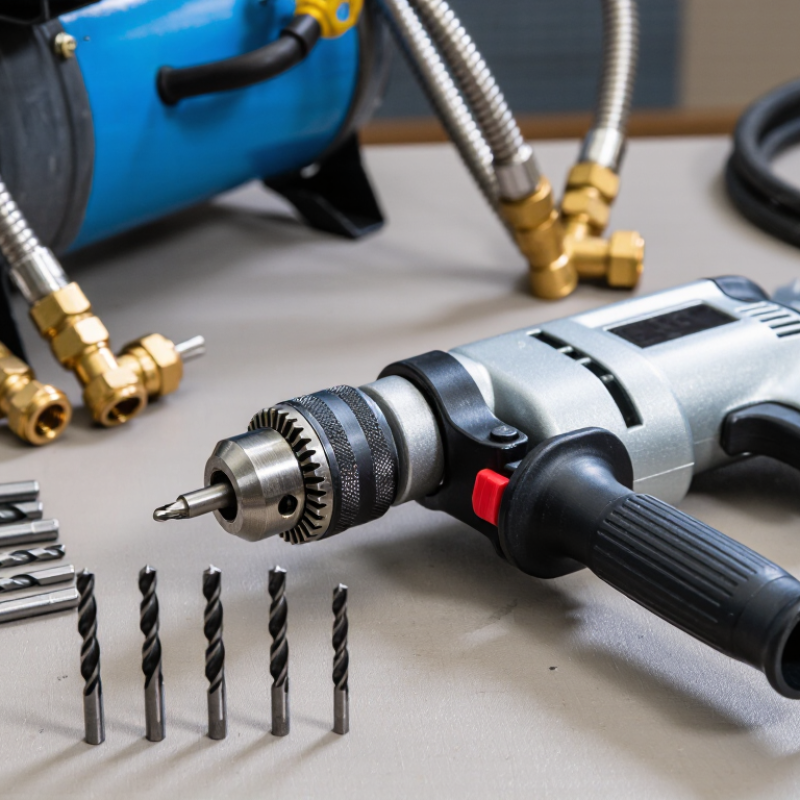
A high-speed air drill converts compressed air into rotary motion at the chuck. In a common vane motor, incoming air pushes sliding vanes around a rotor. The rotor drives gears that set spindle speed and torque. Pulling the trigger opens an airflow valve; releasing it cuts the supply. Exhaust air escapes through ports, often with a sharp hiss. Speed alone tells little. A fast, unloaded drill may slow sharply under a large bit.

The U.S. Department of Energy’s Improving Compressed Air System Performance sourcebook notes that compressed-air systems can account for about 10% of industrial electricity use. That figure varies by facility, but it makes leaks and poor air delivery worth checking. For a drill, compare its required pressure and airflow with the compressor’s actual output, not just its gauge reading. A long, narrow hose can starve the tool. Easy to miss. Keep moisture and debris out of the air line, and follow the drill’s lubrication instructions. One limitation: published free-speed figures rarely show how the drill behaves under load, so a brief test with the intended bit and material can reveal more than the number on a specification sheet.
How to Choose a High-Speed Air Drill

Understand the tool’s operating requirements before comparing speed and performance.

Pressure conversion reference: The chart converts pounds per square inch (psi) to bar using 1 psi = 0.0689476 bar. These are unit conversions, not drill performance measurements. Check the drill’s specifications for its required operating pressure and airflow, and make sure your compressor can supply them.

Identify the Materials and Tasks the Drill Must Handle

Start with the material, not the drill’s advertised speed. Thin sheet metal, hardwood, and soft plastic all respond differently to a fast cutting bit. For sheet metal, note its thickness and whether clean, burr-free holes matter. In hardwood, grain direction and bit diameter affect how steadily the drill cuts. Plastic can soften or crack if the bit gets hot. Speed is only part.

Then define the actual task. A small pilot hole needs less effort than a larger hole drilled repeatedly through dense stock. List the bit sizes, expected hole depth, and how many holes you need to make in one session. If the work involves delicate parts, control and a consistent trigger response may matter more than maximum RPM. Test on scrap.

A practical check is to match the drill’s speed range and air consumption to the bit maker’s guidance and the compressor’s available airflow. Check the required operating pressure, too; a long, narrow hose can limit airflow at the tool. I still find task estimates easy to get wrong, especially when a short job becomes a full afternoon. Try the intended bit and material on an offcut, then check for heat, wandering holes, or rough edges before committing to production work.

Compare Speed, Torque, Chuck Size, and Drill Type

How to Choose a High Speed Air Drill?
Compare Speed, Torque, Chuck Size, and Drill Type

High speed is useful for small holes, but it is not the only measure of performance. Match the drill’s speed range to the material and bit diameter. Larger bits generally need slower speeds and more torque; a fast drill can overheat a bit or wander on metal. Check torque and operating pressure in the tool specifications, then compare them with your compressor’s delivered capacity. A rated pressure alone does not guarantee steady airflow at the tool.

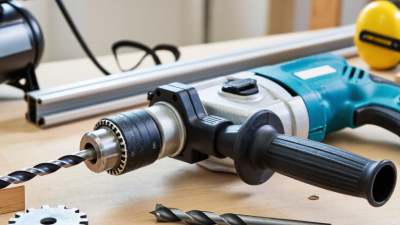
Chuck size sets the bit shank capacity, not the drill’s power. A 1/4-inch chuck suits many small bits, while a larger chuck accepts thicker shanks for heavier work. Choose a straight drill for open, direct access; an angle drill fits tighter spaces, though its head may limit visibility. A reversible model helps with backing out a stuck bit. The U.S. Department of Energy’s Improving Compressed Air System Performance sourcebook reports that leaks can waste 20–30% of compressor output in poorly maintained systems. That loss can weaken tool performance, so inspect hoses and fittings before blaming the drill. Specs still need a real-work test.

Tips: Try the drill on scrap using the intended bit. Watch for stalling, heat, and vibration. Confirm the chuck grips the shank firmly, and check airflow under load—not just at idle. A tidy spec sheet can mislead.

Check Air Supply Requirements, Ergonomics, and Safety Features

A high-speed air drill is only as consistent as its air supply. Check the tool’s required pressure and air consumption, usually listed in the manual. Then compare those figures with the compressor’s delivered output at working pressure, not just its tank size. A long, narrow hose or restrictive coupler can reduce airflow at the tool. Use the recommended hose diameter, fit a regulator, and drain moisture from the system. If the drill slows during a test hole, the supply may be falling short. Small details matter.

Ergonomics affect control during repeated drilling. Hold the drill as you would at the workbench and notice its balance, grip diameter, trigger reach, and weight. A slightly heavier tool may feel manageable for a brief task, then tiring overhead. Check whether the exhaust blows away from your hand and the work surface. Vibration and noise deserve attention, too; comfortable is not the same as safe. I would not judge fit from a photo alone.

Before use, secure the workpiece and wear suitable eye and hearing protection. Check the hose for cracks, confirm the chuck grips the bit firmly, and remove any chuck key before connecting air. Disconnect the air line before changing bits or clearing a jam. Keep loose sleeves and hair away from rotating parts. It is easy to rush setup, and that is exactly when small mistakes happen. A short trial run can reveal leaks, awkward handling, or unexpected vibration.

Choose a Model That Fits Your Workload and Budget

Choosing a high speed air drill starts with the work it will actually do. For occasional holes in thin sheet metal, a compact model may be easier to control than a larger, more powerful tool. For repeated drilling across a long shift, prioritize a comfortable grip, low vibration, and a duty rating suited to sustained use. Small details matter.

Match the drill’s rated speed and air consumption to your compressor’s delivered output, not just its tank size. If pressure drops while drilling, the tool may slow down and make work uneven. Check the chuck range against your usual bit sizes, too. A model that accepts your common bits saves time. Not always enough, though.

Set a realistic budget that includes more than the drill. Hoses, fittings, lubrication, and suitable eye and hearing protection add to the initial cost. A cheaper tool can become costly if it strains the compressor or feels tiring after an hour. Try holding the drill in your normal working position, if possible, and ask about replacement parts and maintenance intervals. That advice is imperfect; comfort varies by hand size and task. Still, a few minutes of testing can reveal more than a specification sheet.

How to Choose a High Speed Air Drill: Compare Workload, Specifications, and Budget
Drill Type Typical Free Speed Chuck Capacity Typical Air Supply Best-Suited Workload Indicative Budget (USD)
Compact straight air drill 2,500–3,500 RPM 1/4 in (6 mm) 90 PSI; approximately 3–5 CFM Light-duty, precise drilling in confined spaces, small parts, and assembly work. $50–$120
General-purpose pistol-grip air drill 1,800–2,500 RPM 3/8 in (10 mm) 90 PSI; approximately 4–6 CFM Routine workshop tasks, sheet metal, plastics, and general maintenance. $80–$200
High-speed pistol-grip air drill 2,500–4,000 RPM 3/8 in (10 mm) 90 PSI; approximately 4–7 CFM Frequent small-diameter drilling where fast bit speed and production pace matter more than high torque. $120–$300
Heavy-duty air drill 500–1,800 RPM 1/2 in (13 mm) 90 PSI; approximately 6–10 CFM Larger bits, tougher materials, and demanding continuous-use jobs that need more torque. $180–$450
Right-angle air drill 1,200–2,500 RPM 1/4–3/8 in (6–10 mm) 90 PSI; approximately 4–7 CFM Drilling in narrow or obstructed areas where a straight or pistol-grip body will not fit. $100–$350
Selection tip: Match the drill’s speed and chuck capacity to the bit and material, then check that your compressor can deliver the required airflow at 90 PSI. Air consumption and prices vary by design, accessories, and market; verify the manufacturer’s specifications before purchase.