Leave Your Message
Choosing a Conveyor Belt Cutting Machine starts with understanding the work it must do each day. Belt material, thickness, width, and required cut shape all affect the choice. A machine suited to thin rubber sheets may struggle with reinforced, heavy-duty belts. Small differences matter. A clean, straight edge can reduce rework, while an unsuitable blade may leave rough edges or damage the material.
The seven tips in this guide focus on practical checks: cutting capacity, accuracy, blade type, operating controls, safety features, maintenance, and supplier support. Compare specifications with real samples of the belts you process, and ask how the machine handles repeated cuts and material changes. Look closely at access to blades and routine service points. These details are easy to miss in a brochure. It is tempting to choose by price or advertised speed alone, but neither tells the whole story. A faster machine is not automatically the better fit. Consider available floor space, operator training, and the cost of consumables, too. Some needs may only become clear after a trial run; that is worth acknowledging. A careful comparison can help you select equipment that suits your workload, supports consistent results, and remains practical to maintain.
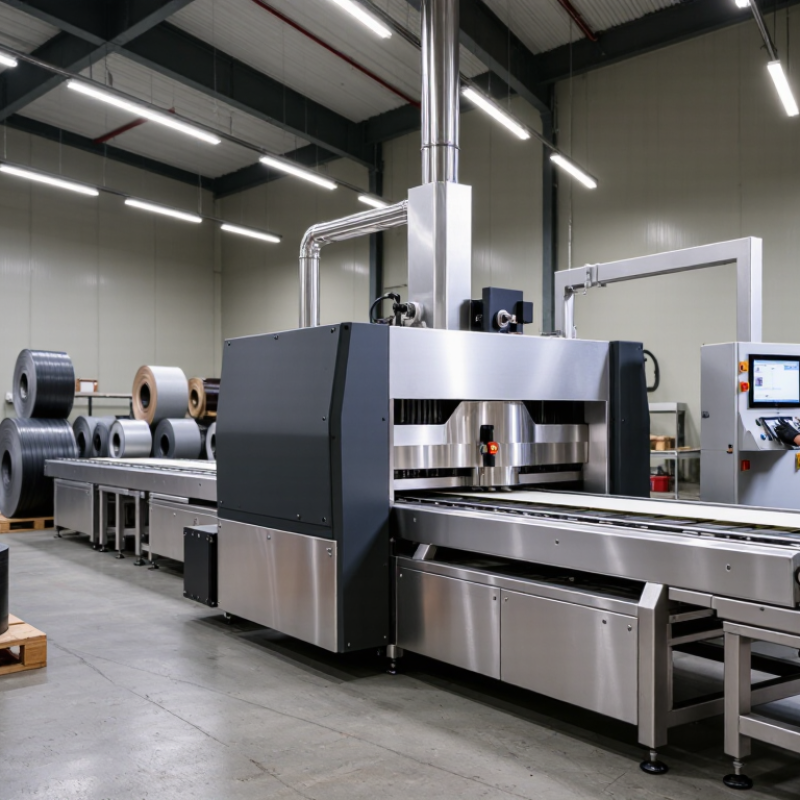
A conveyor belt cutting machine should match the belt’s actual working width, not just its advertised maximum. For belts specified in ISO 251 sizes, the range from 300 to 2,400 mm calls for careful capacity checks. A machine sized for a 300 mm belt may leave no room for wider stock. One sized for 2,400 mm may need a larger operating area.
Check whether the stated cutting width means the maximum belt width or the blade’s travel. Also confirm space for guides, clamps, and safe material handling. Measure the belt itself, and compare that figure with its technical drawing. Small differences matter. A drawing can look clear; shop-floor measurements sometimes disagree.
Before choosing, review the narrowest and widest belts you expect to cut, including future orders. Ask how the machine handles edge alignment across the full width. If possible, test a representative belt section and inspect both cut edges for squareness and fraying. Leave practical room for setup. It is easy to overlook. A little extra capacity may help, but only if the machine can still hold narrower belts securely.
Use the nominal belt widths below as a starting point for machine sizing. Cutting capacity, working clearance, material construction, and required accuracy should be confirmed against the belt specification and the intended cutting process.
| Tip | Selection factor | Practical guidance | Example or reference data |
|---|---|---|---|
| 1 | Match usable cutting width to belt width | Size the machine by its usable cutting width, not its overall frame width. Include space for positioning, edge guides, clamps, or other workholding equipment. | Nominal widths commonly associated with the ISO 251 width series include 300, 400, 500, 600, 650, 700, 800, 1,000, 1,200, 1,400, 1,600, 1,800, 2,000, 2,200, and 2,400 mm. For a 2,400 mm belt, a 2,500 mm usable bed provides 50 mm per side as a planning example. |
| 2 | Allow for handling clearance | Check the space required to load, square, hold, and remove the belt. The required allowance depends on the machine layout and workholding method; it is not a universal standard tolerance. | For a 1,200 mm belt, a 1,300 mm usable cutting area gives 50 mm of nominal side clearance on each side. Confirm that the allowance remains clear of clamps and guides. |
| 3 | Choose a cutting method for the belt construction | Consider cover rubber, carcass material, reinforcement, thickness, and whether the cut is straight, angled, or shaped. Test the selected blade or cutting process on the actual belt construction before production. | Textile-reinforced and steel-cord belts have different reinforcement structures. A method suitable for one construction may not be suitable for another; follow the belt maker’s processing instructions and a qualified machine assessment. |
| 4 | Check thickness and layer capacity | Confirm the machine’s rated cutting thickness and its ability to handle the number of layers or belt sections used in the process. Include covers, fabric plies, and any reinforcement in the assessment. | Measure representative material at several points before selecting a machine. The machine’s stated capacity should meet or exceed the maximum specified workpiece thickness, not just the average thickness. |
| 5 | Set an achievable accuracy requirement | Specify the required finished width, cut angle, and edge quality. Account for material movement, blade condition, setup, and measurement method when checking the result. | For example, a 1,000 mm finished strip with a stated tolerance of ±2 mm requires the process to control total variation within a 4 mm-wide acceptance band. Use the project or customer specification for the actual tolerance. |
| 6 | Evaluate support and material control | Ensure the work surface supports the full belt width and length during cutting. Suitable guides, hold-downs, and measuring references can help reduce skewing and movement. | For a 2,400 mm-wide belt, check that the support surface and handling arrangement accommodate the full width without unsupported edges that could sag or shift during the cut. |
| 7 | Plan for safe, repeatable production | Review guarding, emergency stops, blade access, dust or debris control, operator training, and the time needed for loading and setup. Select a process that can be operated safely at the expected production rate. | Compare the complete work cycle—loading, alignment, cutting, inspection, and unloading—not only the cutting speed. Follow applicable workplace safety requirements and the machine’s operating instructions. |